Lifesavers and cost shavers | Tips from an experienced adventurer
A story from Dunc Wilson, an experienced adventurer and author, who has plenty to share from his time in the wilderness. What can we learn from the experiences of this cost and waste conscious traveller?
The phrase “tramping on a budget” is one that will invoke a spectrum of responses. Comments will range from “you’re endangering yourself!” to “teach me more of this wizardry!”. In reality, both are on the right line. Scrimping on the obvious safety vitals is silly and could see you swept up that well-known creek, minus a paddle. However, there are some ways you can save a buck, without becoming a sitting duck.
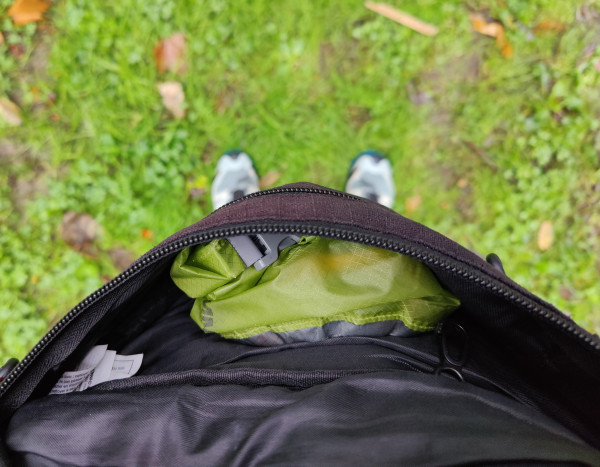
Pack loaded and ready to go
I’m currently part-way through a giant solo adventure, so I thought I’d take you through some of my favourite equipment, from the potentially life-saving to the dollar-shaving. And where the two are allowed to meet.
You can see a checklist of items you’ll need for each outdoor adventure in the Plan My Walk app. It pays to pack accordingly for each trip you embark on.
My journey is a packraft and hiking adventure, down the length of NZ, so clearly I need a pack that can carry my raft. Being around and on the water increases the chances of gear getting wet, which is a big no-no for general survival. At great personal expense, I imported a ULA Epic pack from the US. I like that the wet raft clips on at the bottom and doesn’t drip down the pack. It’s essentially a comfy frame that holds on to a Sea To Summit 65L dry sack. I like it so much it’s been known to come on a number of day hikes with me, even when the raft stays home. It’s waterproof all the time, so no pack cover is required!

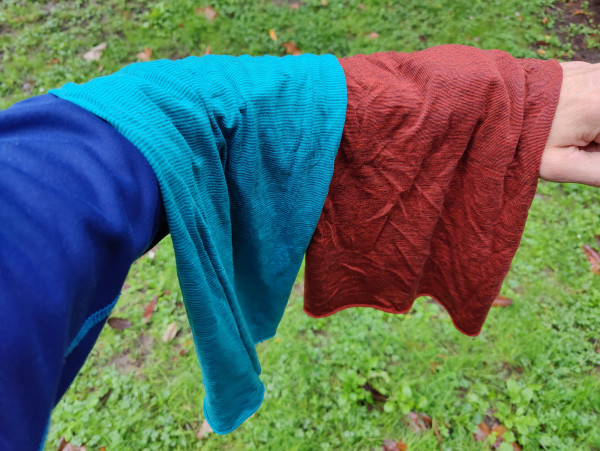
Homemade buffs
Inside it lives my change of warm, dry clothes. This includes my trusty 2015 Kathmandu polyprops. These are one of those outdoor items that don’t cost an arm and a leg, but do keep your arms and legs warm. I also have a couple of home-made ‘Buffs”. My sister made these from some fabric offcuts. I wear one around my neck, with another on my head like a beanie. Home-made gear is an excellent way to save money and utilise waste. In winter, they also join me in my day pack.
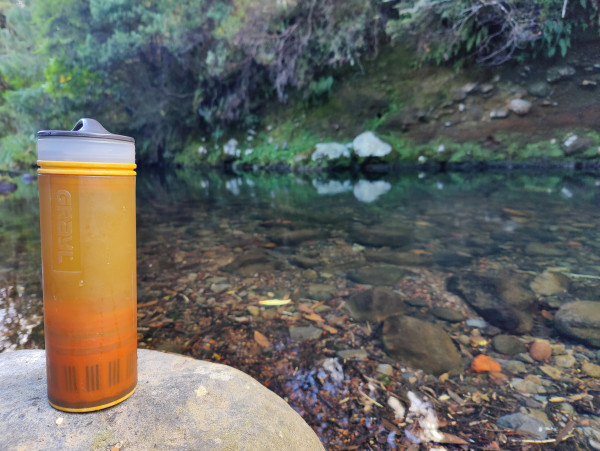
On day one of this adventure, two friends and I were hiking east on Te Paki Coastal Track, in the Far North. It was a raging hot day and I opened my water bottle for a sip. Empty! I studied the map and deduced we’d soon be crossing the Whangakea Stream. Parched, we reached the bridge over it and I clambered down to the water’s edge. There, I pulled out one of my soundest gear investments: my Grayl Ultralight water purifier. Despite the truly evil-looking boogers colonising the stream, I plunged several litres of water and we jollily rehydrated ourselves. Getting caught without water in the past prompted me to invest in a purifier. It removes stress. A glance at the map shows where all the water sources are likely found. It’s been worth every cent.

Grayl water purifier
For a secondary vessel, I carry a 750ml collapsible water bottle. It’s made of soft plastic, weighs nearly nothing and cost just $9. I’ve also devised a cheaper alternative by rinsing out an empty dishwash liquid refill bag. This costs $2.50 and you get to use the dishwash liquid first! Actually, before throwing out most supermarket packaging, I always ask: might this still have a use outdoors?

PLB kept safely in a bumbag
It can’t be stated enough how important a Personal Locator Beacon is in the wilderness. Particularly for solo travellers. As long as it is a bonafide PLB, shop around and buy the one you can afford. I even managed to save money on mine - an Ocean Signal rescueME PLB1 - as it belonged to a friend, who’d bought it and left it on a shelf. Knowing the battery would be up for replacement sooner, I made a low offer and won. PLBs should be kept on you, and not in your pack, so I keep mine in a drybag inside a $10 Mountain Warehouse bumbag.

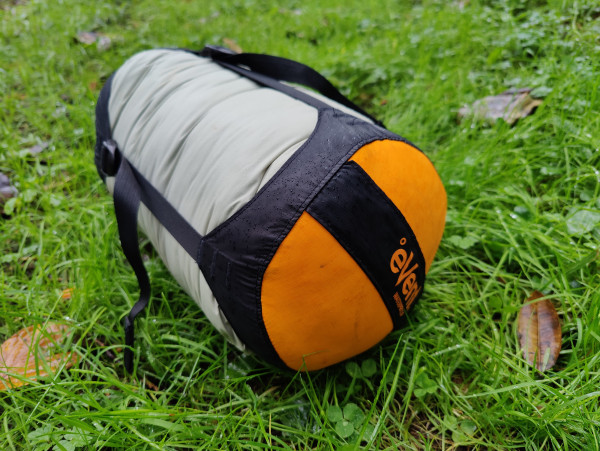
Compression dry sack over sleeping bag
Speaking of drybags, I stuff my Kathmandu Odyssey sleeping bag into a dry compression sack. I find it’s a great way to shrink its volume, while simultaneously ensuring I’ll have a dry place to sleep. In winter, I add in a Sea To Summit Reactor Extreme sleeping bag liner, which adds several degrees of warmth and allows me to use the same sleeping bag year round.
So, the frugal navigation is complete and your pack is weighted nicely with the perfect combo of quality wares and home-made affairs. There’s one more thing you can do to save yourself and some money: have a plan and ensure somebody knows what it is. Plan My Walk is a super handy place for this, since it tailors your plan to your intended trip. It costs nothing but a little time, but could be the shrewdest investment you ever make. Gear is great, but knowing its limits is greater.
- Plan My Walk Tip: You can add custom items to your gear list so you can add to our suggested items and customise your supplies for the type of adventure you are setting off on. There is also the notes section within the plan which allows for full shopping lists and excel sheets to be shared. Give it a go.
- Read his other story about an adventure on the water
- Follow Dunc and his adventures on his Instagram channel or website here
Thanks for sharing your tips on gear Dunc! If anyone else has hacks for the outdoors they think are useful to share, get in touch with us!